Files
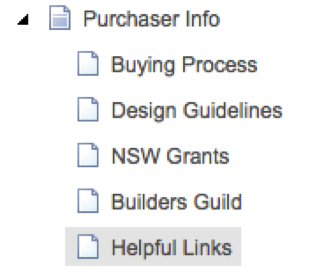
Managing Content in SiteCore PDF
Managing Content in SiteCore DOCX
Updating news and events
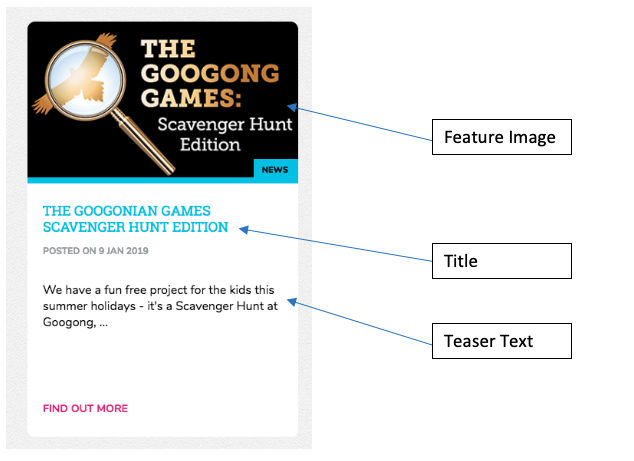
Below are the different sections of the tile and what they are called, as the different sections will be referenced below within the steps.
Uploading images and documents
First crop the feature image to be 373px by 224px and ensure the saved file is below 200kB in size.
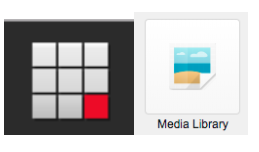
Once the images are saved out, navigate to the media upload section by clicking on the icon in the top left-hand corner and clicking “Media Library”.
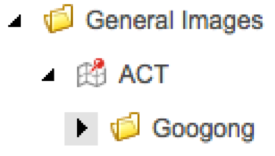
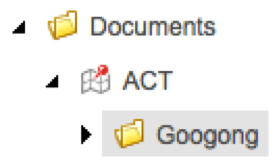
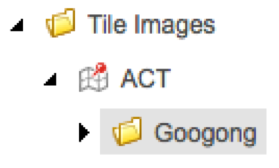
The following three folders are where the images will be uploaded under the Peet folder. General images is for images that appear within the news or event posts, documents are where any PDF or Word Documents are uploaded and Tile Images is where you upload the feature image.
To upload assets within the media uploader section, first select the folder from the above three choices and then select “Upload file”.

A popup will appear asking you to choose a file. Select “Choose file” from the popup and select the file from your computer that you wish to upload. Then select “Upload” to add the image to the folder.
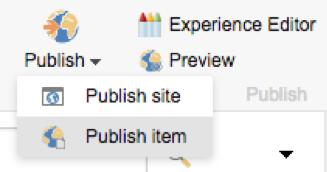
A new page will load showing the details of the asset that was uploaded. Under the publish tab from the top ribbon, click save and then Publish -> Publish Item (making sure all checkboxes are ticked). There is an image below illustrating which tickboxes need to be clicked.


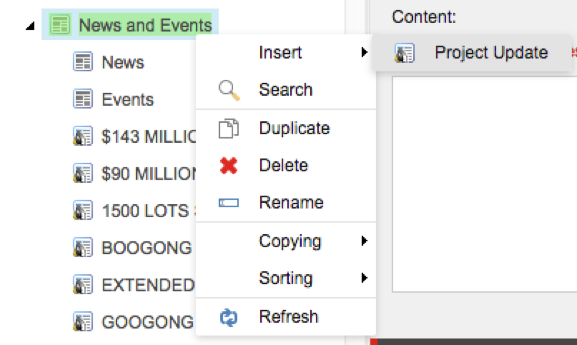
Repeat the above steps to upload all the assets required for the news item. To create the new news item, navigate back to the content editor and in the left hand side, navigate to the Googong folder. Expand “News and Events”, and then right click on “News and Events”, then click on insert and then “Project Update”.
You will be prompted to enter a title for the new project item. Enter the title of the news item or event here making sure that it is all entered in uppercase lettering and ensuring that only letters are entered with the exception of dollar signs and numbers. If any other characters are entered, this may cause the page to not load correctly.
When the page is created, click “Show Editor” within the content text area.

To ensure each page is consistent, select HTML from the tab below and paste in the following code.
<div class="mdl-cell mdl-cell--12-col mdl-cell--8-col-tablet" style="max-width: 1000px; margin: auto; text-align: left;">

<h2>Title goes here</h2>

<cite>Wednesday, 9 January, 2019</cite>

</div>
Switch back to the Design tab and you will see a placeholder for the title and the date of the news item or event. Replace the placeholders for the title and the date posted. You can then press enter after the date to start entering the content that you need.
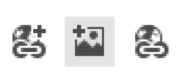
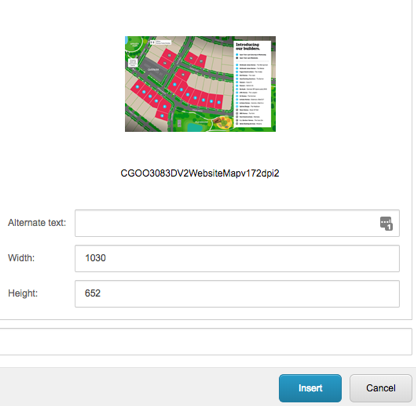
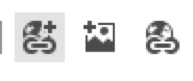
To add images to the content area that were uploaded in the previously uploaded, select the “Insert SiteCore Media” icon within the toolbar.
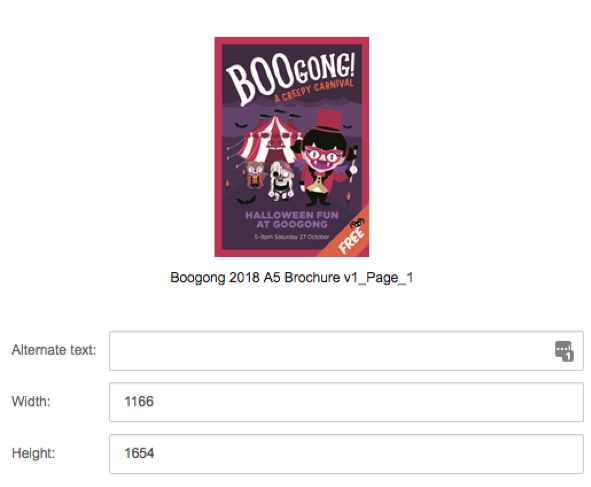
Navigate to the folder where the image is uploaded and select the image that you would like to insert into the page. Add in a description of the image within the “Alternate text” field and select insert.
You will then see the image inserted into the content editor. To link a piece of text to a document that was uploaded, highlight the text that you would like to be linked and then select the “Insert SiteCore Link” icon from the toolbar.
Click “Media Items” from the tabs above and navigate to the Googong documents section. Select the appropriate document and then click insert.
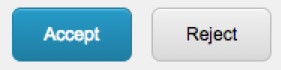
At anytime throughout this process you can click the “Accept” button and within the “Publish” tab in the ribbon above, select save and then select preview to see the changes that have been made.
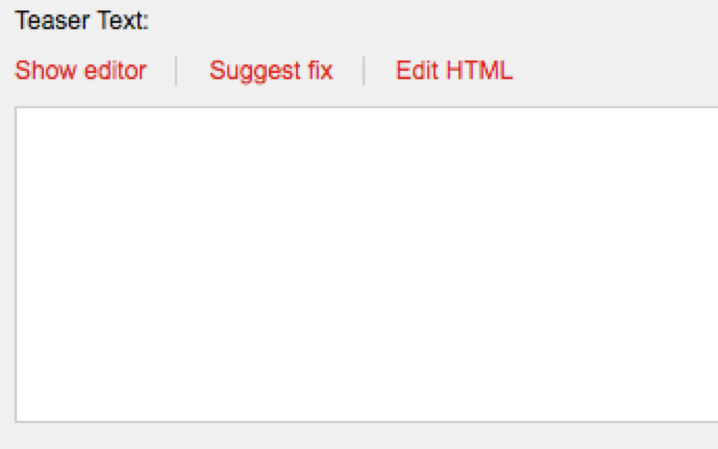
For the news item the next step is to add in the teaser text. Click on “Edit HTML” and enter in the short description and “Accept” when finished. See above illustration to see where the teaser text will be placed.
Next enter the details of when the News item was published. Ensure that the dates entered for Date Created and Publish Date are not in the future as they will not be visible on website until the time specified. And then leave Expiry Date blank.

Next step is to add in the feature image.
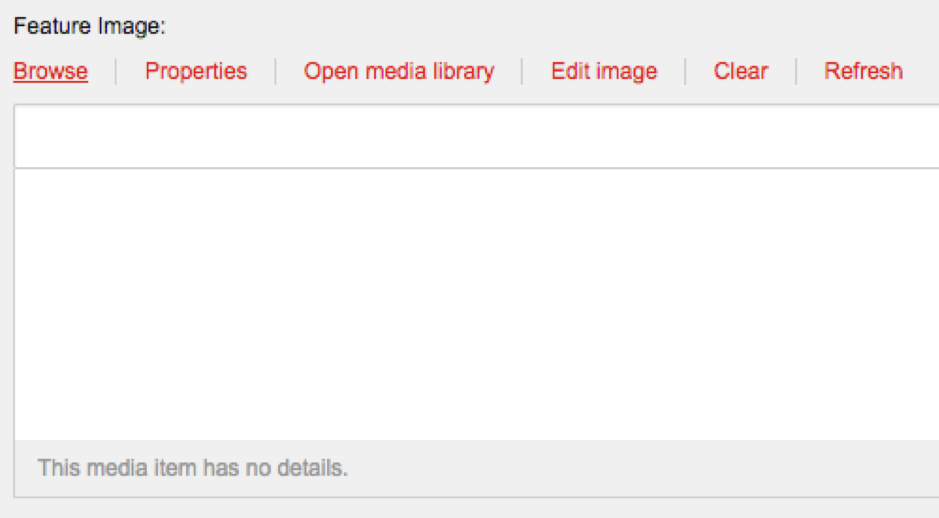
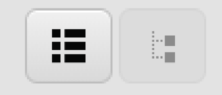
Click browse and then the icons in the right hand corner, select the second icon to view the images in a folder view.
Navigate through the folders and then select the appropriate header image to place within the tile.
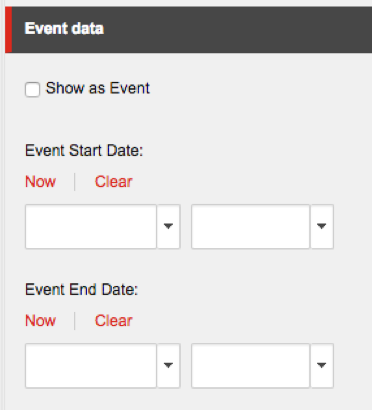
If the item that you are entering is an event scroll down the Event data section. Select “Show as Event” and then input the Start and End Date of the event.
Once finished Save and preview the new post, and when satisfied, publish the item so it is visible on the website by users. Make sure that all checkboxes are ticked when publishing.
Adding a new satellite image
First save out the satellite image and crop so it is 1000px by 719px. Once it is exported to the correct dimensions. Upload it to the media library using the same steps as above, but upload the new image into a folder called “Carousel Images”.
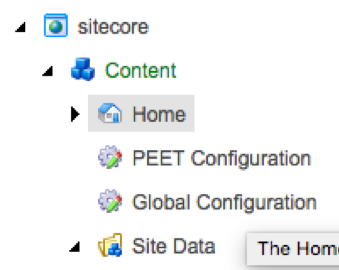
Navigate to “Site Data” within the left hand navigation of the content editor.
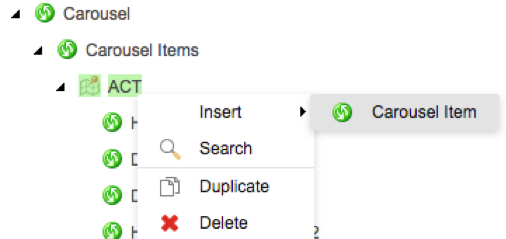
Expand the “Carousel” dropdown and navigate to ACT’s Carousel Items.
Enter “Helpful Links Near Maps” and increment the number by 1. This isn’t essential, but just makes it easier to locate to add it in the next steps. Now select Browse to locate the Carousel Item Image.

In the popup, click the second icon in the right hand corner and navigate through the folders to locate the new carousel image that you uploaded.
Click the select button when you have selected the correct image. Then make sure to remove the words “Read More” for the CTA link text.

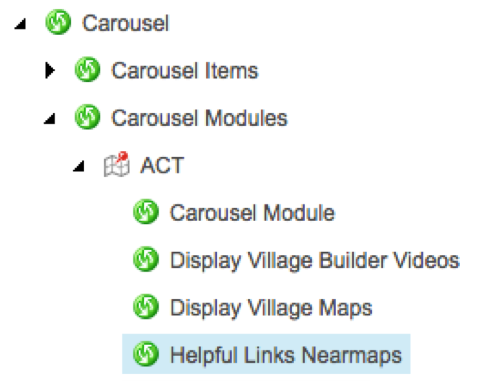
Then hit save and publish item from the publish tab within the ribbon above. Close the Carousel Items tab in the left hand Navigation and navigate to the Helpful Links Nearmaps within the Carousel Modules drop down.
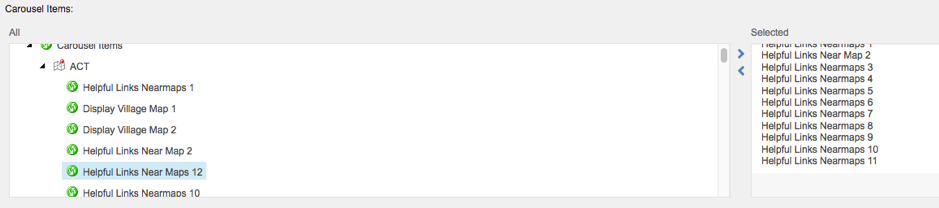
Select the new satellite map that was created in the previous step and then click the right arrow to place it within the slideshow.
Save and Publish Item when complete. Now navigate to the Helpful links page using the left hand navigation within the content editor, and in the publish tab of the ribbon click the Experience Editor button.
Scroll down the page until you see the Satellite Images module, click on the arrows until you find the satellite image that you have added. It will be easy to identify, as it will be called Helpful Links Near Maps etc.
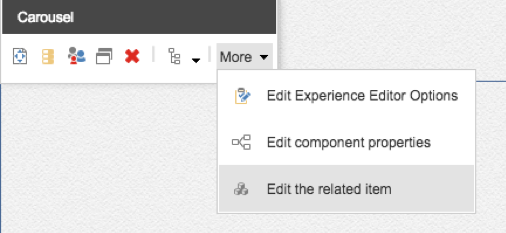
Click in the center of the module until you see a popup in top left hand corner, a popup will appear, here click the “more” dropdown and then edit the related item.
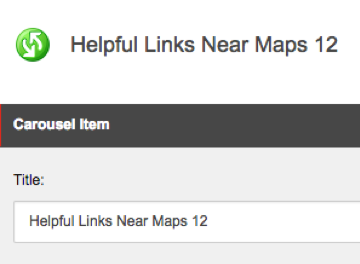
In the new page that appears above change the title of the Carousel Item to be a more meaningful name for the Satellite image. Then click the Save/Close button.
This will then re-load the page and you can navigate through the carousel and see the change. Now to make this change public, in the content editor publish the Helpful Links page. Make sure not to press the save button as this will override the changes that you just made.
Adding a new Googonian Gazette Newsletter
First export the newsletter at 200px by 283px and using the steps above upload the image into the General Images folder of the Media Upload section. Also upload the pdf of the Community Newsletter within the documents Folder of the Media Upload section.
Then navigate to the Community Newsletter page within the Content Editor of SiteCore and click Show Editor.

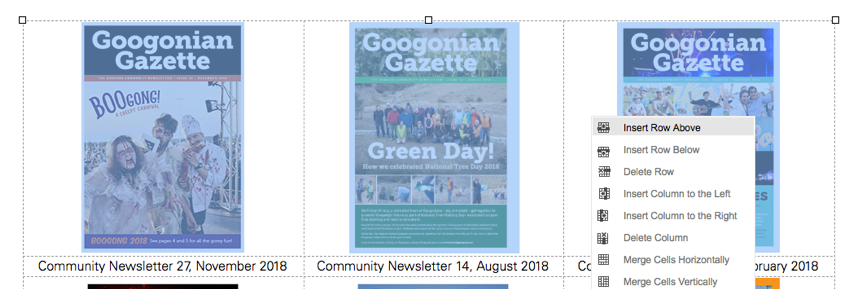
Highlight the first three rows of images and right click inside the table and select “Insert Row Above”. Repeat this process a second time until you get two new rows showing.
In the first row select the first cell and in the toolbar select the following icon to upload the new community newsletter image.
Navigate to the folder where the community newsletter was uploaded to and once found, click on the image. Make sure to write a description of the image inside the alternate text field. And click insert
Then in the cell below the new community newsletter image inserted, enter the date of the newsletters release. To make this text link to the pdf, highlight all the text and in the toolbar select the icon for linking SiteCore Media, shown below.
Click on the “Media Items” tab and Navigate through the Peet folder to find the pdf document that you want to link. Once found, click insert. Now you will have two empty columns next to the new community newsletter. Click and drag the images one by one and cut and paste the text to fill up the remaining cells within the table.
Once finished click “Accept”, and then in the publish ribbon, click save and then publish the item.